eCaring has various options to customize client profiles. This article will review the areas of the Admin settings that correlate directly to the client profile.
Access Admin Menu
- Navigate to “Admin” on your toolbar


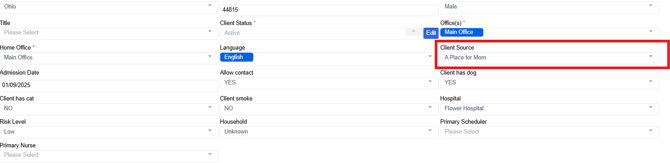
- Client Sources area allows you to manage your client sources- how your clients learned about your agency
- This list is associated with client profiles located in the edit profile area and can be used for tracking purposes
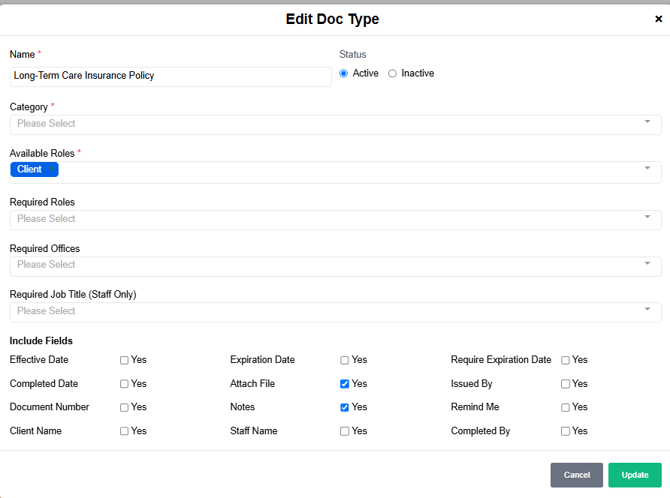
Select on Doc Types- In this area you can assign documents to client profiles or add additional docs if needed.

- To view or make changes to an existing Document select the blue pencil icon, make the needed changes and select Update
Now let's take a look at the Doctors menu- select Doctors

- If you need to add a Doctor to a client's Care Circle, come to this area to add a new doctor or edit an existing Doctor

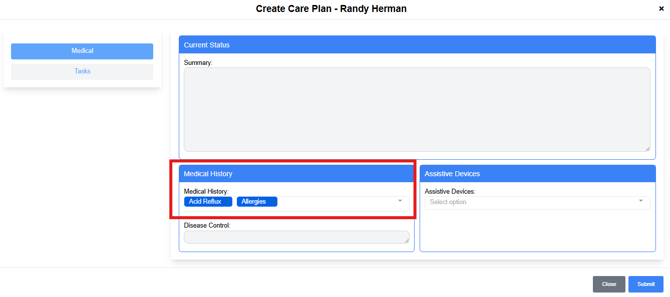
Med History- Select on Med History to view the current list of Med History options

- This area has over 460 items, please check the drop-down in the Care Plan area prior to adding new options.

- This list can be viewed and used in the client Care Plan
Organizations
The Organizations area allows you to enter organizations that can be assocaited to the client profile. To add an organization, select add new
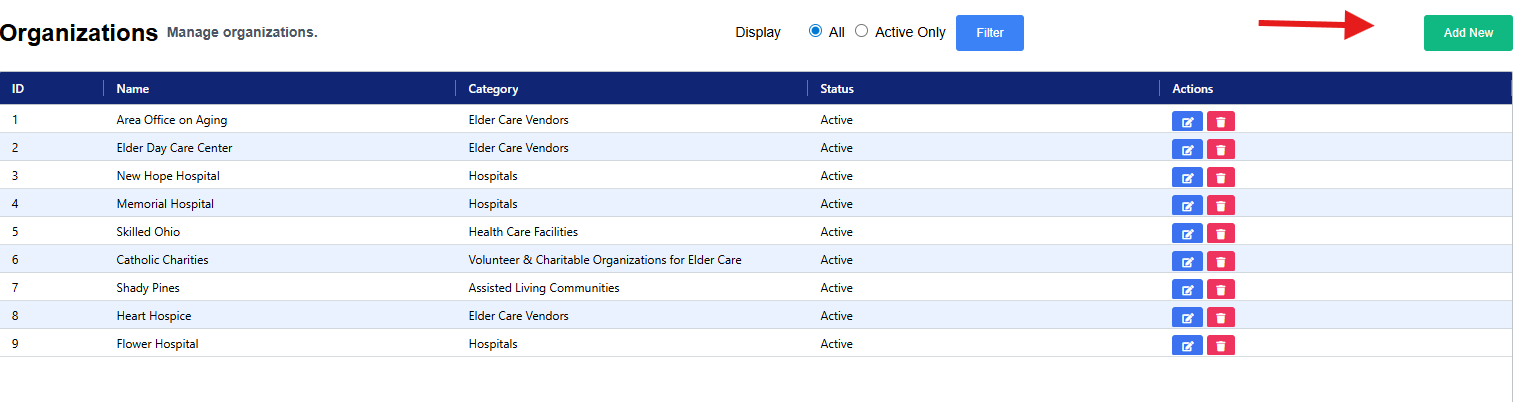
Complete the required fields and save. Once the organization is saved, the option will then populate in the client profile under Hospital.

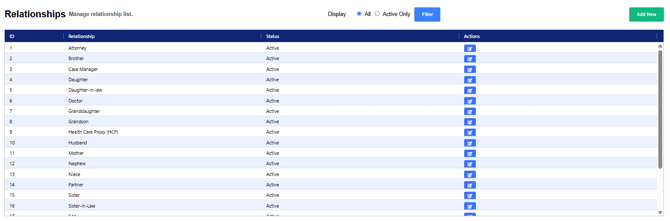
Select Relationships

- The Relationships menu houses the options to be used when adding contacts to a Client Profile
Navigate to the Tags menu

- In this area, you can create tags or edit tags that are associated to client profiles
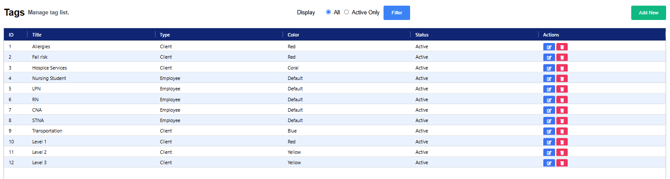
- Once Tags are created, select + Tag to add a tag to a profile

Select Service Tasks
-
In this area, you will find a list of seeder tasks to be added to the care plan for completion during visits.
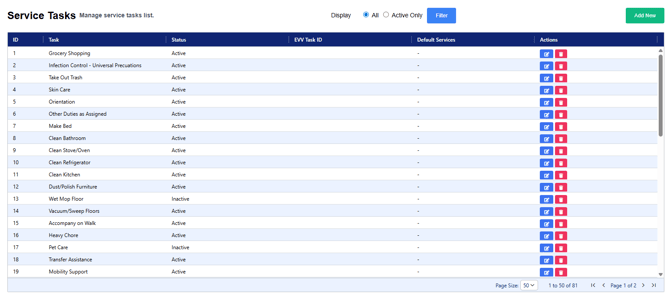
- Review the list of tasks, if you will not be utilizing this task, select the red icon. If this is a task that will be assigned, select the blue icon.
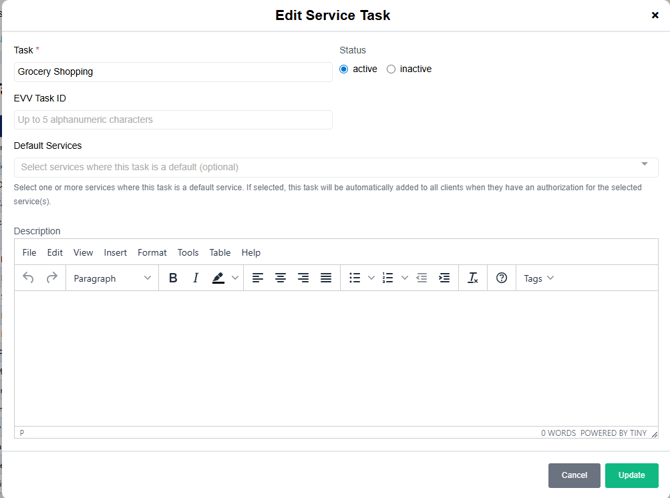
- If using EVV, be sure to complete the EVV Task ID
- There is also an option to add Default Services, if this is selected this task will autopopulate to the service visit.