In the Reports dashboard, the Client Report provides a customizable view of client information. You can apply filters to tailor the report to your needs, then export the results or save the report configuration for future use.
To access the Client Report, navigate to Reports and select Client.
 The Client Report displays a list of clients along with key information, making it easy to review client details, monitor statuses, and locate specific records.
To Customize Columns:
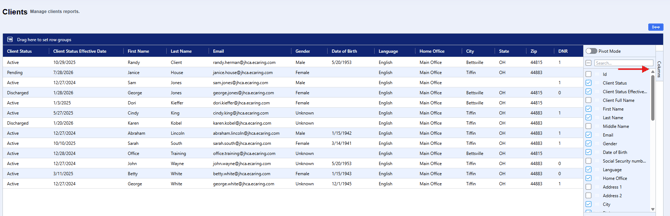
To add or remove columns from the report, select Columns. From the Columns menu, you can search for specific keywords to quickly locate available fields. Select the checkbox next to a column to add it to the report, or clear the checkbox to remove it. Your selected columns will automatically update in the report, allowing you to customize the displayed information to meet your reporting needs.
 To Filter and Sort Data:
The reporting area also allows you to easily filter and sort columns to narrow down the information displayed. Using these options, you can quickly locate specific client details and organize the report based on your reporting needs.
To Change the Viewing Order:
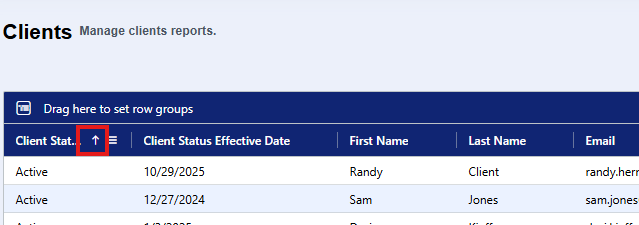
To sort or filter information within the report, select between the column title and 3 bars. This will allow you to change the order in which information is displayed.
To Filter Columns to view only Certain Information:
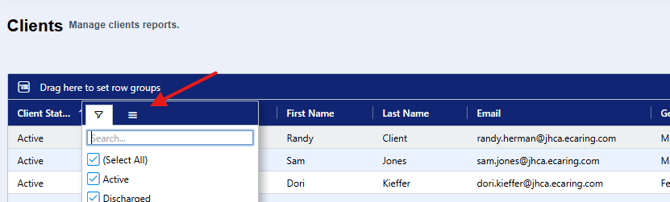
To filter the information in a specific column such as client status, select on the three lines to the left of the column. Select the options you would like to include in the report.
To Group Results By the Column Title:
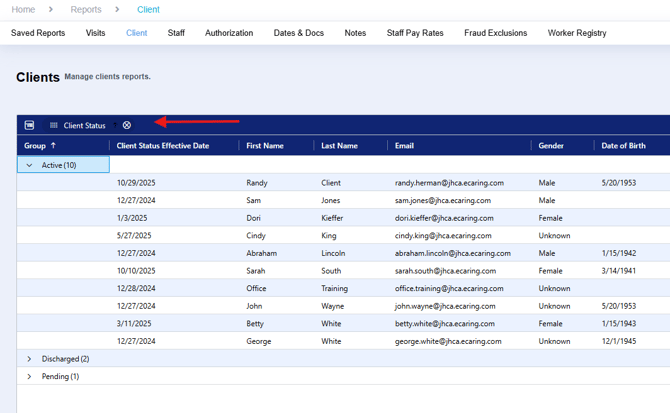
To review results by a specific column, such as Client Status or City, select the column title and drag and drop it to the top of the report grid. This will group the report results by the selected column, making it easier to organize and review the information.
To Export the Report:
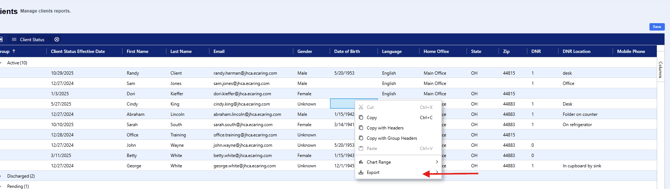
Once the report has been filtered and sorted, you can easily export the results to a CSV file. To export the report, right-click anywhere within the report results and select the export option.
How to Save a Report to Access Later:
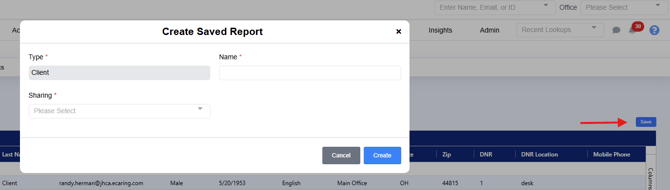
Now that you have created, filtered, and organized your report, select the Save option to save your customized report settings. Saving the report allows you to easily access and run the same report again in the future without needing to recreate your filters, sorting, or column selections.